1. Муқаддима
This manual provides essential information for the installation, operation, and maintenance of your Hikvision IDS-7208HQHI-M1/XT 8-Channel 5MP Turbo HD DVR. Please read this manual thoroughly before using the product to ensure correct and safe operation. Keep this manual for future reference.
The Hikvision IDS-7208HQHI-M1/XT is an advanced 8-channel Digital Video Recorder designed for high-definition surveillance systems. It supports various video input formats, including Turbo HD, AHD, CVI, CVBS, and IP cameras, offering versatile compatibility. Key features include 5MP recording capability, H.265+ video compression for efficient storage, AcuSense technology for intelligent motion detection, and remote access via the Hik-Connect app.
2. Мундариҷаи баста
Verify that all items are present and in good condition upon unpacking. If any items are missing or damaged, contact your supplier immediately.
- DVR main unit
- Адаптери барқ
- USB муш
3. Хусусиятҳои маҳсулот
The Hikvision IDS-7208HQHI-M1/XT DVR offers a range of features designed for effective surveillance:
- 8-Channel DVR with 5MP HD Support: Supports multiple analog HD camera formats and up to 8 channels of real-time video monitoring and recording.
- Two-Way Audio Support: Enables audio communication through compatible cameras.
- Built-In AcuSense Technology: Smart analysis minimizes false alarms by focusing on human and vehicle-based motion detection.
- Remote Access via Hik-Connect App: View live video, playback recordings, and receive alerts anytime on your smartphone.
- Efficient Storage with H.265+ Compression: Saves bandwidth and hard disk space while maintaining clear video quality.
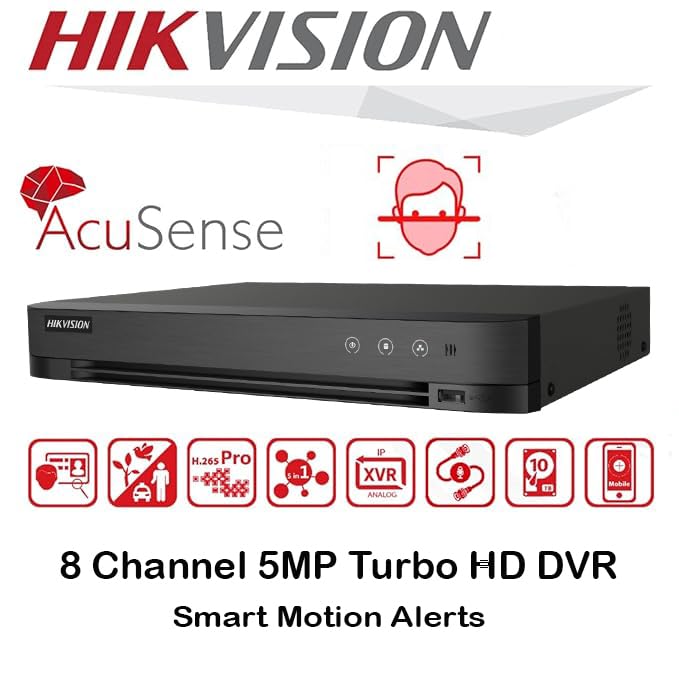
Тасвир: тамомview of key features including AcuSense, H.265+ compression, and 5MP resolution support.
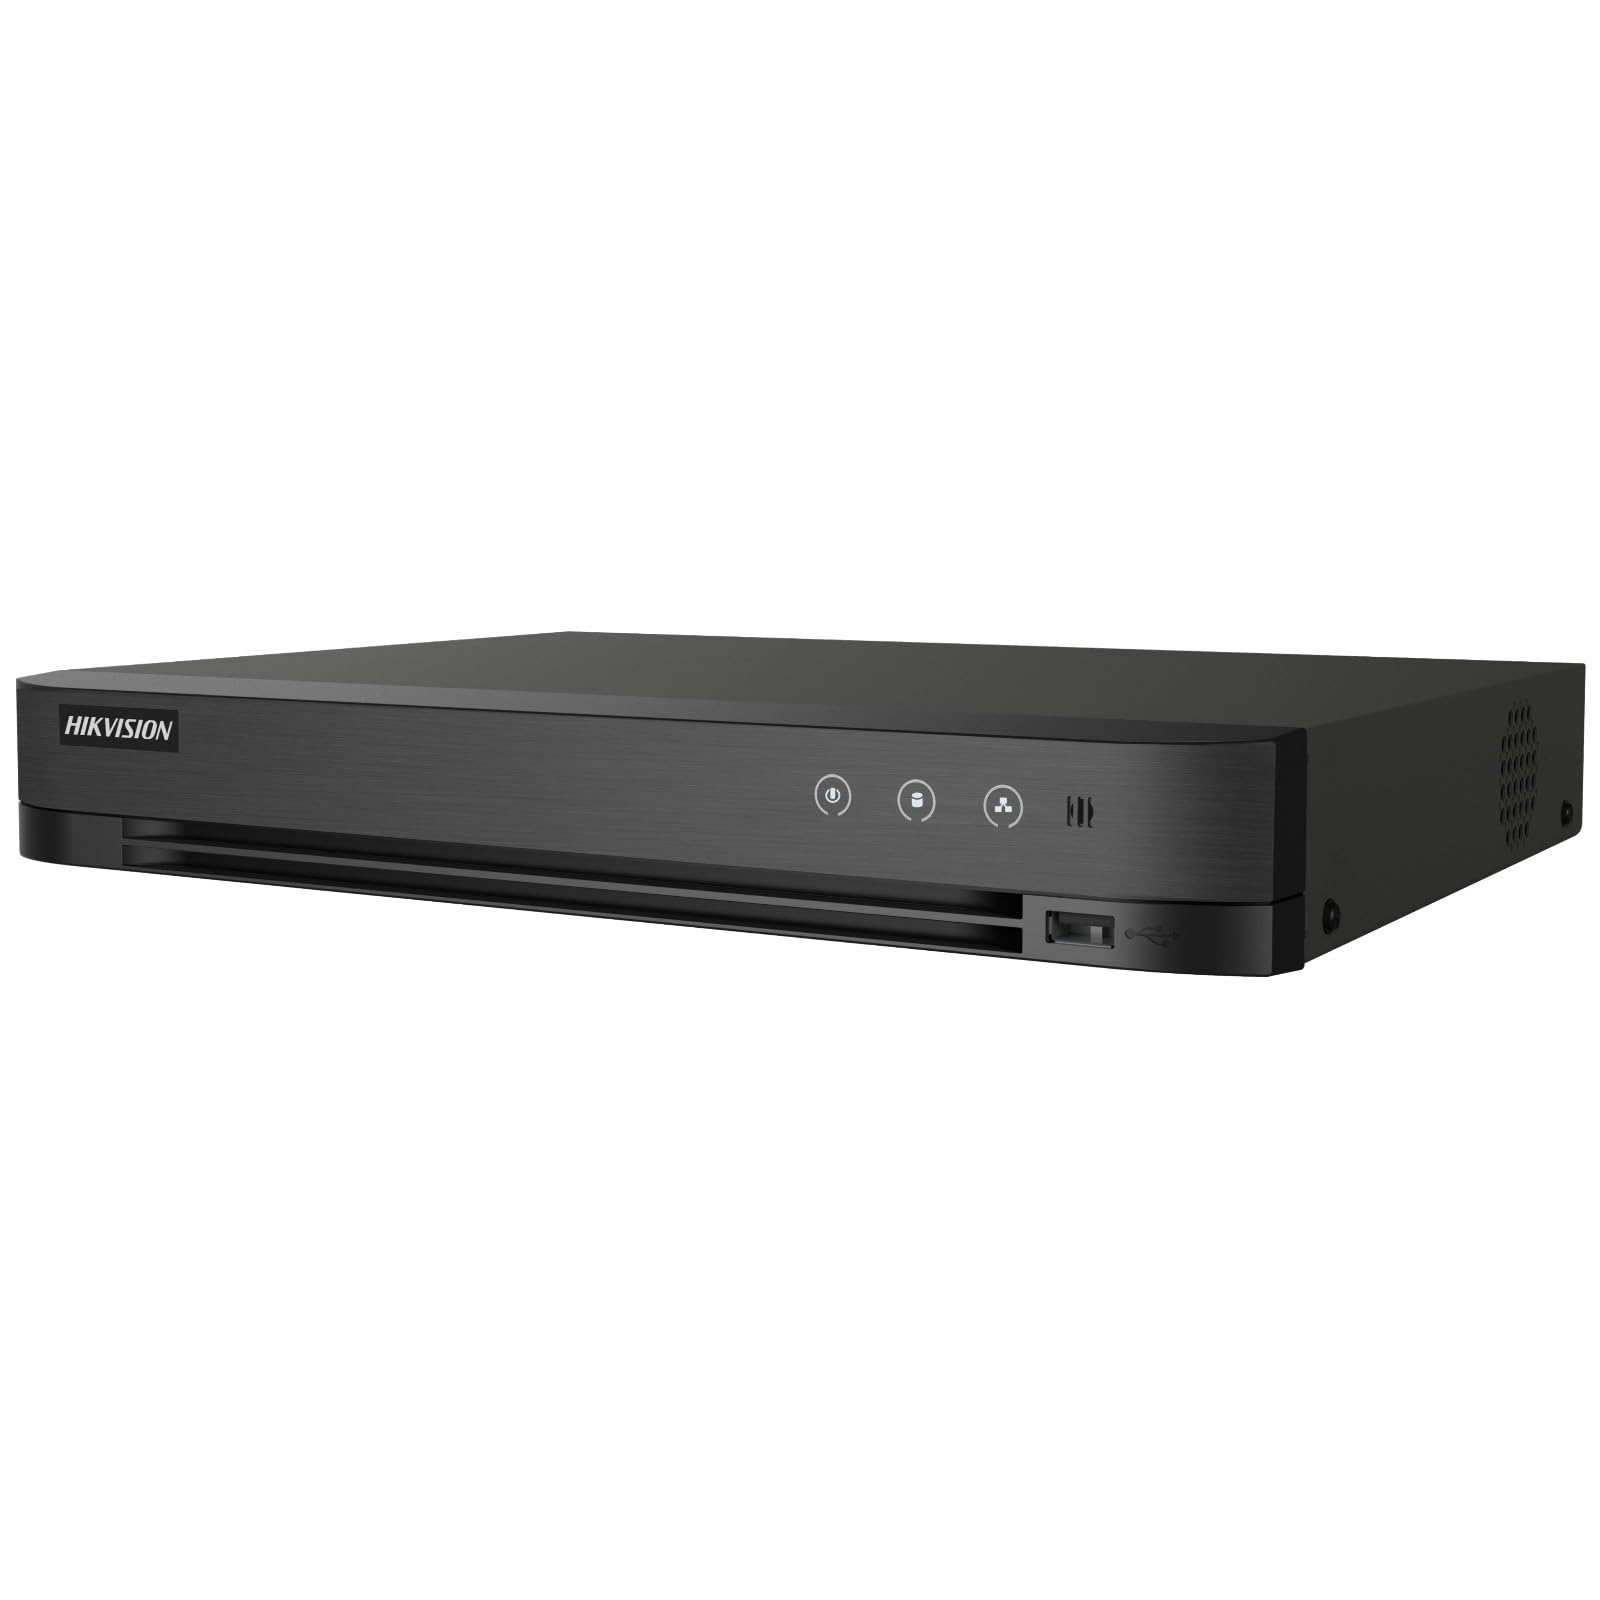
Image: The Hikvision Turbo HD DVR highlighting its support for two-way audio cameras, enabling interactive communication.
4. Интерфейси физикӣ
Familiarize yourself with the ports and indicators on the DVR unit. The following diagram illustrates the rear panel of the Hikvision IDS-7208HQHI-M1/XT DVR:

Image: Rear panel connections of the DVR, showing video inputs, audio ports, network, and power.
- Видео Вуруд (BNC): Connect analog HD cameras (Turbo HD, AHD, CVI, CVBS).
- Video Out (BNC): Connect to a monitor for local display.
- Audio In (RCA): Connect external audio input devices.
- баромади HDMI: Connect to an HDMI-compatible monitor or TV for high-definition video output.
- Натиҷаи VGA: Connect to a VGA-compatible monitor.
- Аудио баромад (RCA): Connect to external audio output devices.
- Портҳои USB: Connect a USB mouse, USB flash drive for backup, or external storage.
- Порти LAN (RJ45): Connect to your network for remote access and IP camera integration.
- RS-485: For PTZ camera control (if supported).
- Вуруди қувваи 12V DC: Адаптери барқро пайваст кунед.
- Терминали заминӣ: Барои заминӣ кардани дастгоҳ.
5. Танзимот
Follow these steps for initial setup of your DVR system:
5.1 Hard Drive Installation (if not pre-installed)
- Сарпӯши болоии DVR-ро кушоед ва хориҷ кунед.
- Сими маълумотҳои SATA ва сими барқро ба диски сахт пайваст кунед.
- Диски сахтро бо истифода аз винтҳои додашуда ба корпуси DVR мустаҳкам кунед.
- Сарпӯши болоро иваз кунед ва онро бо винтҳо мустаҳкам кунед.
5.2 Пайваст кардани дастгоҳҳои периферӣ
- Connect your cameras to the Видео дар (BNC) ports.
- Connect a monitor to the HDMI or VGA порти баромад.
- Connect the USB mouse to a порти USB.
- Connect the DVR to your network router using an Ethernet cable plugged into the Бандари LAN.
- Адаптери барқиро ба 12В вуруди барқи DC and then plug it into a power outlet.
5.3 Танзимоти ибтидоӣ
- Ҳангоми бори аввал бор кардан, DVR шуморо тавассути устоди насб роҳнамоӣ мекунад.
- Set a strong password for the administrator account.
- Танзимоти шабакаро танзим кунед (DHCP одатан барои аксари шабакаҳои хонагӣ кофӣ аст).
- Initialize the hard drive if prompted. This will format the drive for recording.
- Adjust date, time, and other system preferences as needed.
6. Амалиёт
Once the DVR is set up, you can begin monitoring and recording.
6.1 Зиндагӣ View
Пас аз ворид шудан, DVR мундариҷаи зиндаро нишон медиҳад. view аз камераҳои пайвастшуда дар монитор. Шумо метавонед байни камераҳои яккаса гузаред view ва шабакаи бисёркамераҳо view бо истифода аз тугмаҳои идоракунии экран ё муш.
6.2 Сабт кардан
The DVR is typically configured to record continuously or based on motion detection. You can adjust recording schedules and settings through the DVR's menu system (Configuration > Record > Schedule).
6.3 Бозӣ
Барои аз навview foo сабт шудаастtagд, ба он ҷо равед Бозӣ menu. Select the date, time, and camera channel to view recordings. Use the playback controls (play, pause, fast forward, rewind) to navigate through the footage.
6.4 Remote Access (Hik-Connect App)
The Hik-Connect app allows you to access your DVR remotely from a smartphone or tablet.
- Барномаи Hik-Connect-ро аз мағозаи барномаҳои дастгоҳи худ зеркашӣ кунед.
- Create a Hik-Connect account and log in.
- Add your DVR by scanning the QR code on the DVR's label or by manually entering its serial number.
- Follow the in-app instructions to complete the device addition.
- Пас аз илова, шумо метавонед view live feeds, play back recordings, and receive push notifications for events.

Image: Illustration of the Hik-Connect mobile application interface, demonstrating remote access to live video and recordings.
7. Нигоҳдорӣ
Нигоҳубини мунтазам кори беҳтарин ва дарозумрии системаи DVR-и шуморо таъмин мекунад.
- Clean the DVR: Periodically clean the exterior of the DVR with a soft, dry cloth. Ensure ventilation openings are free from dust to prevent overheating.
- Навсозии нармафзор: Ба Hikvision-и расмӣ нигаред website for firmware updates. Updating firmware can improve performance, add features, and fix bugs. Follow update instructions carefully.
- Саломатии диски сахт: Monitor the health of your hard drive through the DVR's system menu (Идоракунии HDD). Replace the hard drive if it shows signs of failure.
- Backup Important Footage: Regularly back up critical video footagба диски берунаи USB ё нигоҳдории шабакавӣ.
- Амнияти парол: Change your DVR and Hik-Connect passwords periodically to maintain security.
8. Баррасии мушкилот
Ин бахш мушкилоти умумиеро, ки шумо метавонед дучор ояд, баррасӣ мекунад.
8.1 No Video Output on Monitor
- Check if the monitor is powered on and correctly connected to the DVR's HDMI or VGA port.
- Боварӣ ҳосил кунед, ки манбаи дурусти вуруд дар мониторатон интихоб шудааст.
- Кӯшиш кунед, ки ба монитори дигар пайваст шавед ё аз сими дигар истифода баред.
8.2 Cameras Not Displaying
- Verify that cameras are powered on and properly connected to the DVR's BNC inputs.
- Check camera power supplies.
- Ensure the camera type (TVI, AHD, CVI, CVBS) is compatible with the DVR and configured correctly in the DVR settings.
8.3 Дастрасии дурдаст кор намекунад
- Ensure the DVR is connected to the internet via the LAN port.
- Check network settings on the DVR (Танзимот > Шабака).
- Verify that the Hik-Connect service is enabled on the DVR.
- Боварӣ ҳосил кунед, ки смартфони шумо пайвасти фаъоли интернет дорад.
- Re-add the device to the Hik-Connect app if necessary.
8.4 No Recording
- Check if a hard drive is installed and properly initialized (Configuration > HDD).
- Verify recording schedules are set correctly (Configuration > Record > Schedule).
- Боварӣ ҳосил кунед, ки дар диски сахт фазои холӣ кофӣ аст.
9. Мушаххасоти
Detailed technical specifications for the Hikvision IDS-7208HQHI-M1/XT DVR:
| Хусусият | Мушаххасоти |
|---|---|
| Рақами модел | IDS-7208HQHI-M1/XT |
| Вуруди видео | 8-Channel (Turbo HD/AHD/CVI/CVBS/IP) |
| Фишурдани видео | H.265 + / H.265 / H.264 + / H.264 |
| Қарори сабт | То 5 МП |
| Натиҷаи видео | HDMI, VGA, BNC |
| Вуруди / баромади аудио | 2-Way Audio Support |
| Интерфейси шабакавӣ | 1 RJ45 10M/100M Ethernet Interface |
| Интерфейси USB | 2 x USB 2.0 |
| Дастгирии HDD | 1 SATA interface (up to 10 TB capacity per HDD) |
| Таъмини нерӯ | 12В DC |
| Андозаҳо (L x W x H) | 19.7 х 19.2 х 4.1 см |
| Вазн | 1.5 кг |
| Истеҳсолкунанда | HIKVISION, Prama Hikvision India Pvt. Ltd. |
10. Кафолат ва дастгирӣ
For warranty information and technical support, please refer to the warranty card included with your product or visit the official Hikvision webсайт. Квитансияи хариди худро ҳамчун далели харид барои даъвоҳои кафолат нигоҳ доред.
For further assistance, contact Hikvision customer support or your authorized dealer.