1. Муқаддима
This manual provides essential information for the safe and effective use of your Leica M (Typ 240) Digital Rangefinder Camera, model 10770. The Leica M is engineered for superior image quality, precise focusing, and robust performance, featuring a 24-megapixel CMOS sensor and the Leica Maestro image processor.
Хусусиятҳои асосӣ инҳоянд:
- High-resolution 24-megapixel CMOS sensor for exceptional detail.
- Fast Leica Maestro image processor for rapid image handling.
- Зиндагӣ View with 10x magnification and Focus Peaking for precise focusing.
- Splash-proof camera body for enhanced durability.
- 3-inch TFT LCD screen with 920,000 pixels and Corning Gorilla glass protection.
- Full 1080p HD video recording capabilities.
2. Танзимот
2.1 Кушодан ва тафтиши мундариҷа
Carefully unpack your camera and verify that all components are present. The standard package for model 10770 includes the camera body only. Inspect the camera for any signs of damage before proceeding.
2.2 Насби батарея
The Leica M (Typ 240) uses one Lithium Metal battery (included). To install the battery:
- Locate the battery compartment cover, typically on the bottom of the camera.
- Open the cover by turning the locking mechanism.
- Insert the battery according to the polarity indicators inside the compartment.
- Сарпӯши қисмати батареяро бехатар пӯшед.
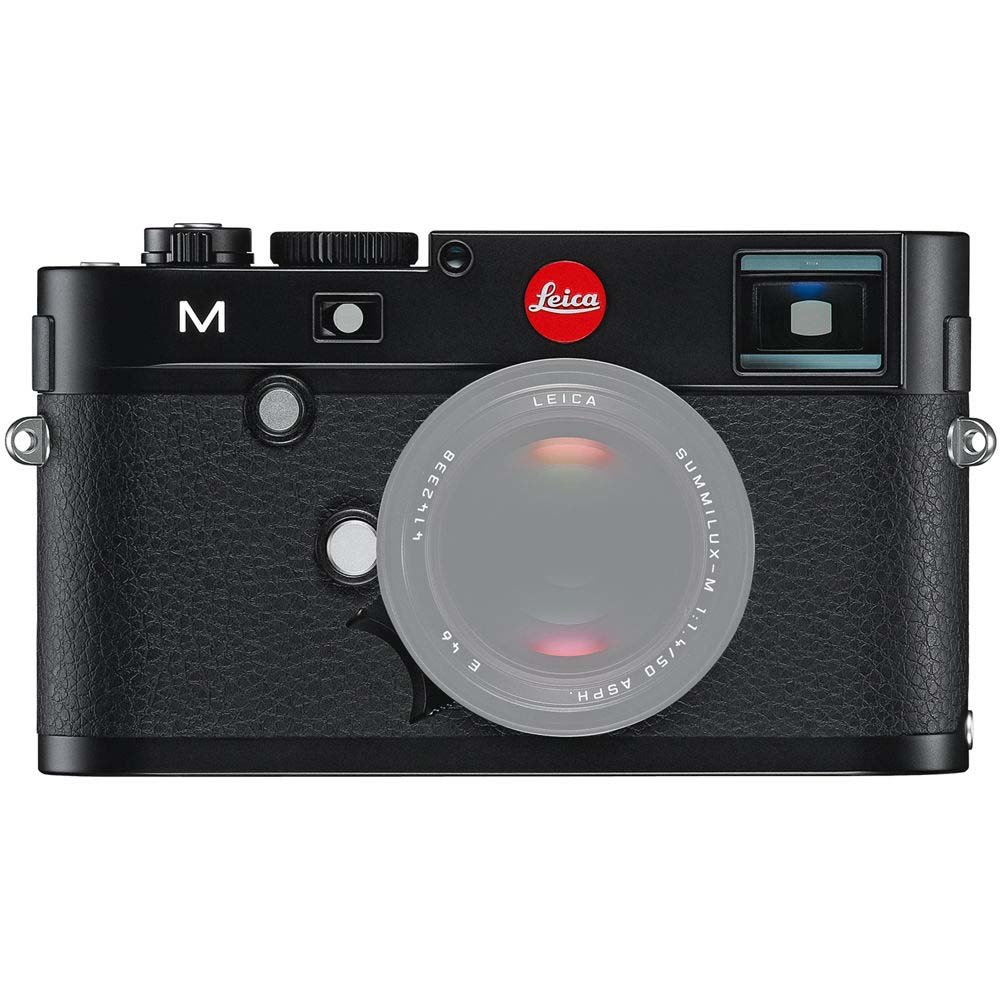
Пеш view of the Leica M (Typ 240) Digital Rangefinder Camera, showing the lens mount and body design. This image illustrates the camera's exterior, which houses the battery compartment and other controls.
2.3 Ворид кардани корти хотира
Insert a compatible SD card into the memory card slot. Ensure the card is inserted in the correct orientation until it clicks into place. Refer to the camera's display for confirmation of card recognition.
2.4 Замимаи линза
The Leica M (Typ 240) uses the Leica M mount. To attach a lens:
- Сарпӯши баданро аз камера ва сарпӯши қафоро аз линза хориҷ кунед.
- Align the red dot on the lens with the red dot on the camera's lens mount.
- Gently insert the lens into the mount and turn it clockwise until it locks into place.
2.5 Фаъолсозии ибтидоӣ ва танзимоти асосӣ
After installing the battery and memory card, turn on the camera using the power switch. The first time you power on, you may be prompted to set the date, time, and language. Follow the on-screen instructions to configure these basic settings.
3. Истифода бурдани камера
3.1 Назорат аз болоиview
The Leica M (Typ 240) features a classic rangefinder design with intuitive controls. Familiarize yourself with the shutter speed dial, aperture ring (on the lens), focus ring (on the lens), and the various buttons and dials on the camera body for menu navigation and function selection.
3.2 Тамаркуз
The camera offers multiple focusing methods:
- Rangefinder System: The classic method for precise manual focusing. Align the split or superimposed images in the viewдарёфткунанда.
- Зиндагӣ View Масштаб: Ҳангоми истифодаи Live View on the LCD screen, you can magnify the image up to 10x for critical focus assessment.
- Зиндагӣ View Фокус авҷи: This feature automatically highlights sharp contours in red on the Live View display, providing visual confirmation of focus.
3.3 Танзимоти экспозиция
The Leica M (Typ 240) provides comprehensive control over exposure. You can manually set aperture (via the lens), shutter speed (via the top dial), and ISO sensitivity. The camera also offers various metering modes, including Center Weighted, to assist in achieving correct exposure.
3.4 Shooting Still Images
Барои гирифтани тасвири статикӣ:
- Кадрҳои худро бо истифода аз viewёфтан ё Зиндагӣ View.
- Adjust focus using one of the methods described above.
- Set your desired exposure parameters (aperture, shutter speed, ISO).
- Press the shutter button halfway to activate the meter, then fully to capture the image.
3.5 Сабти видео
The Leica M (Typ 240) supports 1080p full-HD video recording. To record a video:
- Switch the camera to video mode (if applicable, refer to the camera's menu).
- Compose your shot and adjust focus.
- Press the dedicated video recording button or the shutter button (depending on configuration) to start and stop recording.
3.6 Бозии тасвир
Барои аз навview тасвирҳо ва видеоҳои гирифташуда:
- Тугмаи Бозӣ -ро пахш кунед.
- Use the navigation controls to scroll through your media.
- The 3-inch TFT LCD screen provides a clear display for reviewтирандозии шумо.
4. Нигоҳдорӣ
4.1 Тоза кардани камера
- Ҳайати камера: Барои тоза кардани корпуси камера матои мулоими хушкро истифода баред. Барои лой якрав, каме гamp матоъро истифода бурдан мумкин аст, аммо намии аз ҳад зиёдро пешгирӣ кунед.
- Линза: Use a lens brush or air blower to remove dust, then gently clean with a microfiber lens cloth and a specialized lens cleaning solution if necessary.
- Сенсор: Тозакунии сенсорҳо бояд бо эҳтиёти шадид анҷом дода шавад. Агар дар тасвирҳо доғҳои чанг пайдо шаванд, тавсия дода мешавад, ки сенсорро аз ҷониби маркази хизматрасонии ваколатдор касбӣ тоза кунед.
- Экрани LCD: Use a soft, lint-free cloth. Avoid harsh chemicals.
4.2 Нигоҳдорӣ
When not in use, store the camera in a cool, dry place away from direct sunlight, high humidity, and extreme temperatures. Use a desiccant pack if storing in humid environments. Remove the battery if the camera will not be used for an extended period.
4.3 Нигоҳубини батарея
Charge the battery fully before first use. For optimal battery life, avoid completely discharging the battery regularly. Store batteries in a cool, dry place. If storing for extended periods, charge them to approximately 50% capacity.
5. Баррасии мушкилот
5.1 Камера фаъол нест
- Боварӣ ҳосил кунед, ки батарея дуруст ҷойгир карда шудааст ва пурра пур шудааст.
- Тафтиш кунед, ки контактҳои батарея тоза аст.
- Try a different charged battery if available.
5.2 Images Are Out of Focus
- Verify that the lens is correctly attached and the focus ring is being adjusted properly.
- Ensure you are using the rangefinder or Live View focusing aids correctly.
- Check the diopter adjustment on the viewfinder if images appear blurry through it.
5.3 Image Quality Issues (e.g., Noise, Color Cast)
- Садо: High ISO settings can introduce noise. Try lowering the ISO or using a brighter aperture/slower shutter speed.
- Рангҳои ранг: Check the white balance settings. Adjust to match the lighting conditions. Firmware updates may also address color rendition issues.
- Dust Spots: If dark spots appear on images, especially at smaller apertures, the sensor may require cleaning.
5.4 Memory Card Errors
- Боварӣ ҳосил кунед, ки корти хотира пурра гузошта шудааст.
- Try formatting the card in the camera (note: this will erase all data).
- Бо корти хотираи гуногун ва мувофиқ санҷед.
6. Мушаххасоти
| Хусусият | Тафсилот |
|---|---|
| Бренд | Лейка |
| Рақами модел | 10770 |
| Андозаҳои маҳсулот | 5.47 x 1.65 x 3.15 инч |
| Вазни ашё | 1.29 фунт |
| Батареяҳо | 1 батареяи литий металлӣ (дохил) |
| Дастгоҳҳои мувофиқ | Лейка М |
| Технологияи сенсори акс | CMOS |
| Дастгир карда шудааст File Формат | JPEG, хом |
| Устуворсозии тасвир | Рақамӣ |
| Масштаби оптикӣ | 1x |
| Максимум диафрагма | 3.5 Millimeters (Note: This refers to the camera body's internal specification, actual lens aperture varies.) |
| Минимуми васеъшудаи ISO | 100 |
| Тавсифи ҳисобкунӣ | Вазни марказӣ |
| Санаи аввалин дастрас | 2 феврали соли 2010 |
7. Кафолат ва дастгирӣ
For detailed warranty information, please refer to the warranty card included with your product or visit the official Leica webсайт. Барои даъвоҳои кафолат далели хариди худро нигоҳ доред.
For further assistance, technical support, or service, please contact Leica customer service or visit an authorized Leica service center. You can find more information and resources on the Leica Store on Amazon.


