Муқаддима
This manual provides instructions for the installation and use of the Mount Plus MP-APM-06-01 Streaming Media Player Wall Mounting Bracket. This adjustable bracket is designed to securely hold small, narrow media devices such as Apple TV, Roku, and Fire TV, weighing up to 11 lbs. It allows for discreet mounting behind a television, contributing to a clean and organized entertainment area.
Маълумот оид ба бехатарӣ
- Пеш аз насб ҳамаи дастурҳоро бодиққат хонед.
- Ensure the mounting surface can support the weight of the bracket and the device.
- Ҳангоми насб асбобҳо ва таҷҳизоти бехатарии мувофиқро истифода баред.
- Иқтидори максималии вазнро аз 11 фунт (5 кг) зиёд накунед.
- Қисмҳои хурдро аз кӯдакон дур нигоҳ доред.
Мундариҷаи баста
Пеш аз оғози насб, санҷед, ки ҳама ҷузъҳо мавҷуданд.
- 1x MP-APM-06-01 Wall Mounting Bracket
- 2x Drywall Screws
- 2x Анкерҳои хушксолӣ
- 1x Elastic Cord (for securing device)

Figure 1: Package Contents - Wall mounting bracket, screws, anchors, and elastic cord.
Насб ва насб
The bracket can be installed on various wall types. Ensure you select the appropriate mounting hardware for your wall material.
Қадами 1: Ҷойгоҳи насбро интихоб кунед
Select a location on the wall where you intend to mount the bracket. This is typically behind your television for a concealed setup. Use a level to ensure the bracket is straight.
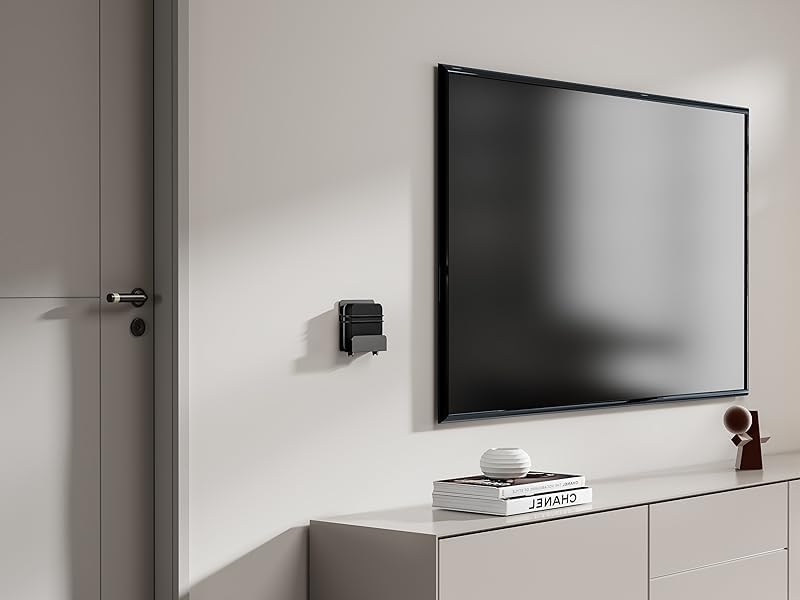
Расми 2: Мисample of bracket mounted on a wall next to a television.
Step 2: Mark Drill Holes
Hold the bracket against the wall at the desired height and position. Use a pencil to mark the locations for the two mounting screws through the pre-drilled holes on the bracket.
Видео 1: Насбкунӣ ба охир расидview showing marking drill holes for wall mounting.
Step 3: Drill Pilot Holes and Install Anchors (if applicable)
- For Wood Studs: Drill pilot holes using a suitable drill bit (e.g., 1/8 inch or 3mm). Secure the bracket directly with the provided screws.
- Барои Drywall: Drill pilot holes using a suitable drill bit for the provided drywall anchors. Insert the drywall anchors into the holes until flush with the wall surface.
- For Masonry/Concrete: Drill pilot holes using a masonry drill bit. Insert appropriate masonry anchors (not included) into the holes.
Қадами 4: Қавсро мустаҳкам кунед
Align the bracket with the pilot holes/anchors. Insert the screws and tighten them until the bracket is firmly secured to the wall. Do not overtighten.

Figure 3: Detail of the rotary knob for adjustment.
Дастурҳои амалиётӣ
Adjusting and Securing Your Device
- Танзими паҳнои: The bracket features a rotary knob design (Figure 3) that allows you to adjust the width to fit your device. Turn the knob to expand or contract the bracket's holding arms until it snugly fits your media player. The adjustable depth ranges from 23 mm to 37 mm.
- Дастгоҳи ҷойгиршавӣ: Carefully place your streaming media player into the adjusted bracket.
- Дастгоҳи бехатар: For added security, use the provided elastic cord to firmly hold your equipment within the bracket. Wrap the cord around the device and the bracket's securing points.
- Кабелҳои пайвастшавӣ: The open construction of the bracket allows for easy access to ports for connecting power, HDMI, and other necessary cables.

Расми 4: Мисample of a device (Nintendo Switch) secured in the bracket.

Figure 5: Open construction allows for easy cable management.
The bracket's design ensures that remote control signals (Infrared, Radio Frequency, and Bluetooth) are not blocked when the device is mounted behind a TV.
Нигоҳдорӣ
- Periodically check the tightness of the mounting screws to ensure the bracket remains securely attached to the wall.
- Inspect the elastic cord for any signs of wear or damage. Replace if necessary.
- Қавсро бо матои нарм ва хушк тоза кунед. Аз тозакунандаҳо ё ҳалкунандаҳои абразивӣ худдорӣ намоед.
Мушкилкушо
- Device does not fit: Ensure your device's width is within the adjustable range of 23 mm to 37 mm. The bracket's height is a maximum of 10 inches.
- Bracket feels loose: Re-tighten the mounting screws. If mounted on drywall, ensure anchors are properly installed and not stripped. Consider relocating to a wood stud if possible for maximum stability.
- Масъалаҳои идоракунии дурдаст: The bracket is designed not to interfere with remote signals. Test your remote by holding your device behind the TV before final mounting to confirm functionality.
Мушаххасоти
| Рақами модел | MP-APM-06-01 |
| Бренд | Маунт Плюс |
| Материал | Пулоди Зангнамезадагӣ |
| Ранги | Сиёҳ |
| Навъи васлкунӣ | Монтажи девор |
| Чуқурии танзимшаванда | 23 mm - 37 mm (0.9 - 1.46 inches) |
| Maximum Vertical Height | 10 инч (254 мм) |
| Иқтидори максималии вазн | 11 фунт (5 кг) |
| Вазни ашё | 12 унсия (0.34 кг) |
| Андозаҳои бастаҳо | 5.7 x 5.1 x 1.3 инч |
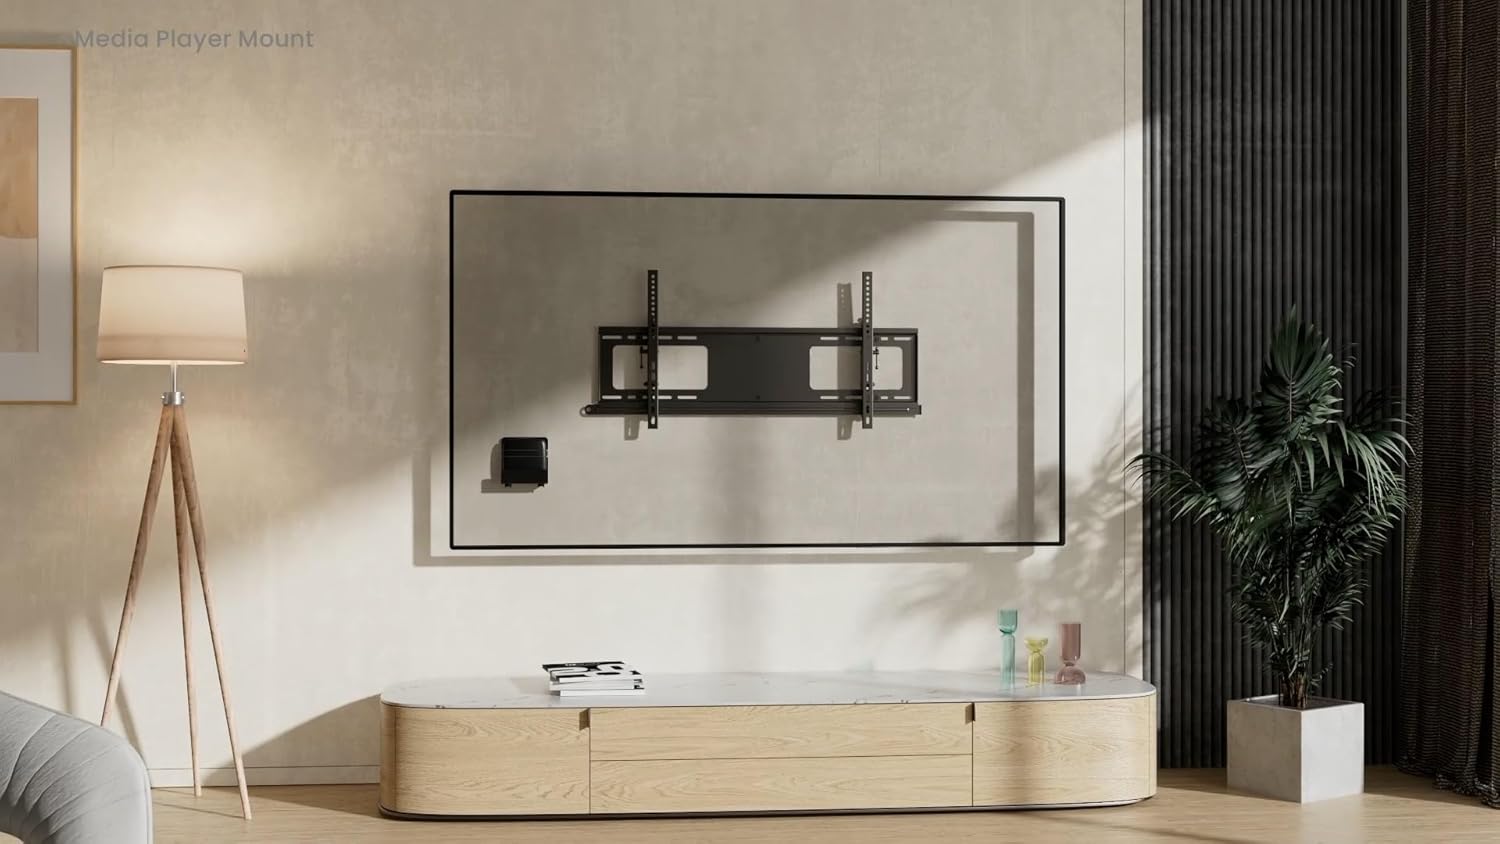
Figure 6: Dimensional drawing of the MP-APM-06-01 bracket.
Кафолат ва дастгирӣ
Барои гирифтани маълумот дар бораи кафолат ё дастгирии техникӣ, лутфан ба шахси расмии истеҳсолкунанда муроҷиат кунед webсайт ё шӯъбаи хидматрасонии муштариёни онҳо тамос гиред. Квитансияи хариди худро барои даъвоҳои кафолат нигоҳ доред.


