1. тамомview
The Aerocool Cylon RGB Midi-Tower PC Case, model ACCM-PV10012.11, is designed to house computer components, offering both functionality and aesthetic appeal. It features a side window panel for showcasing internal hardware and an RGB LED illumination strip on the front panel for customizable lighting effects. This case supports ATX motherboards and provides ample space for various components, including multiple storage drives and cooling solutions.

Расми 1: Пеш view of the Aerocool Cylon RGB Midi-Tower PC Case, highlighting its distinctive RGB LED strip.
2. Мундариҷаи баста
Лутфан боварӣ ҳосил кунед, ки ҳама ҷузъҳо дар баста мавҷуданд:
- Aerocool Cylon RGB Midi-Tower PC Case (ACCM-PV10012.11)
- Accessory box (containing screws, standoffs, cable ties, etc.)
- Дастури корбар (ин ҳуҷҷат)
3. Маълумот оид ба бехатарӣ
Read and understand all safety instructions before installing or operating the PC case. Failure to do so may result in injury or damage to the product.
- Пеш аз анҷом додани ягон насб ё нигоҳдорӣ, ҳамеша манбаи барқро аз розеткаи деворӣ ҷудо кунед.
- Барои пешгирӣ аз зарар, ҳамаи қисмҳоро бодиққат коркард кунед.
- Avoid touching electronic components directly; use anti-static precautions if possible.
- Қисмҳо ва лавозимоти хурдро аз дастрасии кӯдакон дур нигоҳ доред.
- Барои пешгирӣ аз гармии аз ҳад зиёд, вентилятсияи дурусти атрофи корпусро таъмин кунед.
4. Танзим ва насб
4.1 Омода кардани парванда
Before installing components, remove the side panels to access the interior of the case.
- Қуттиро дар сатҳи ҳамвор ва устувор ҷойгир кунед.
- Locate the thumbscrews on the rear of the case securing the side panel.
- Unscrew the thumbscrews and carefully slide the side panel backward, then lift it off. Repeat for the other side panel if necessary.
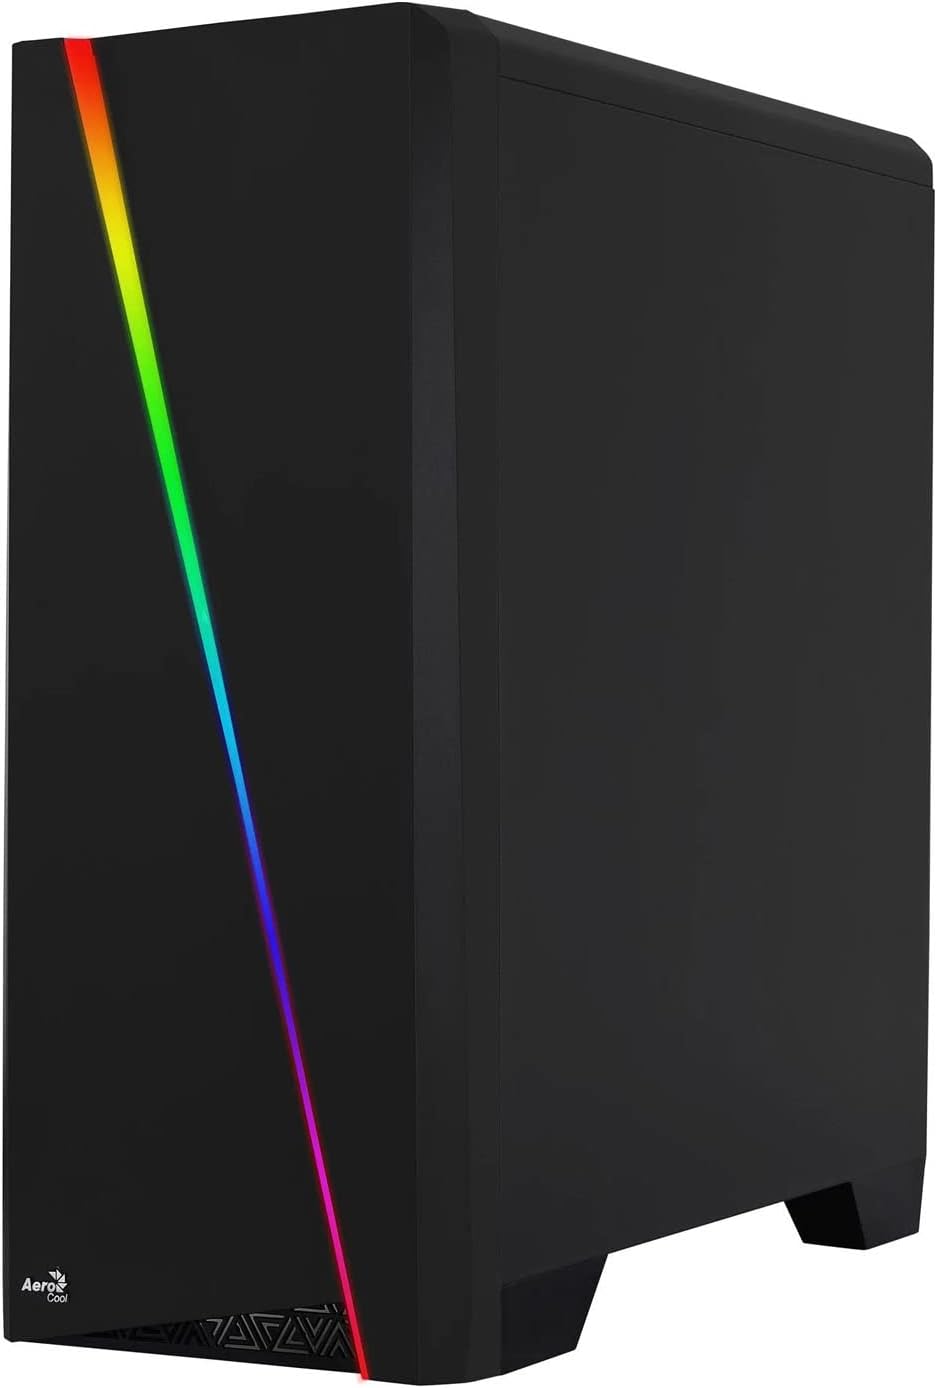

Figure 2: Left image shows the side panel attached, right image shows the side panel removed for access.
4.2 Насби motherboard
The Aerocool Cylon case supports ATX motherboards.
- Install the I/O shield that came with your motherboard into the opening at the rear of the case.
- Ensure motherboard standoffs are correctly aligned with your motherboard's screw holes. Install any missing standoffs from the accessory box.
- Модари худро бодиққат ба стендҳо ҷойгир кунед ва сӯрохиҳои винтро мувофиқ кунед.
- Secure the motherboard with the appropriate screws from the accessory box.
4.3 Drive Installation (2.5" / 3.5")
The case provides bays for 2.5-inch and 3.5-inch drives.
- Locate the drive bays within the case. Refer to the case diagram for specific locations.
- For 3.5-inch HDDs, slide the drive into the designated tray or bay and secure it with screws.
- For 2.5-inch SSDs, mount the drive onto the designated bracket or tray and secure it with screws.
4.4 Насби воҳиди таъминоти барқ (PSU)
The PSU is typically mounted at the bottom rear of the case.
- Slide the PSU into its designated compartment from the rear of the case.
- Align the PSU's screw holes with those on the case.
- Secure the PSU with the provided screws.
4.5 Expansion Card (GPU) Installation
Install your graphics card or other expansion cards into the PCIe slots.
- Remove the necessary PCI-E slot covers from the rear of the case corresponding to your expansion card's size.
- Carefully insert the expansion card into the appropriate PCI-E slot on the motherboard until it clicks into place.
- Secure the expansion card with screws.

Расми 3: Қафо view of the PC case, showing the expansion slots and I/O area.
4.6 Fan / Liquid Cooling Radiator Installation
The Aerocool Cylon case supports various cooling configurations.
- Қафо: 1 x 120mm fan (pre-installed or optional).
- боло: Supports 2 x 120mm fans or 1 x 240mm radiator.
- Поён: Supports 2 x 120mm fans.
- Mount fans or radiators to their respective positions using the appropriate screws.
- Connect fan power cables to the motherboard or a fan controller.

Figure 4: An interior shot of the case, illustrating potential fan and liquid cooling radiator placements.
4.7 Идоракунии кабел
Effective cable management improves airflow and aesthetics.
- Route cables through the cutouts and behind the motherboard tray.
- Use cable ties (included in the accessory box) to bundle and secure cables.
4.8 Connecting Front Panel I/O
Connect the front panel cables to the corresponding headers on your motherboard.
- USB 3.0: Connect the USB 3.0 cable to the motherboard's USB 3.0 header.
- USB 2.0: Connect the USB 2.0 cables (x2) to the motherboard's USB 2.0 headers.
- Аудио HD: Connect the HD Audio cable to the motherboard's audio header.
- Қувват/Бозсозӣ/LED: Connect the small individual cables (Power SW, Reset SW, HDD LED, Power LED) to the motherboard's front panel headers according to your motherboard manual.
5. Идоракунии корпуси компютер
Once all components are installed and connected, reattach the side panels and power on your system.
- Фаъол: Тугмаи барқро, ки дар панели болоии вуруд/хуруҷи корпус ҷойгир аст, пахш кунед.
- Назорати равшании RGB: The front panel RGB LED illumination can be controlled via a dedicated button on the top I/O panel or through compatible motherboard software, depending on your setup. Refer to your motherboard manual for software control options.
6. Нигоҳдорӣ
Нигоҳдории мунтазам ба таъмини иҷрои беҳтарин ва дарозумрии корпус ва ҷузъҳои компютери шумо кӯмак мекунад.
- Тоза кардани филтри чанг: The case features dust filters (e.g., on the top and bottom). Regularly remove and clean these filters to prevent dust buildup and maintain good airflow. Use compressed air or a soft brush.
- Тозакунии умумӣ: нармро истифода баред, гamp cloth to wipe down the exterior of the case. Avoid abrasive cleaners or solvents. For the transparent side panel, use a microfiber cloth to prevent scratches.
7. Баррасии мушкилот
Агар шумо бо мушкилот рӯ ба рӯ шавед, қадамҳои умумии ҳалли мушкилотро баррасӣ кунед:
- Не қудрат: Ensure the PSU is properly connected to the wall outlet and the power switch on the PSU is in the 'ON' position. Verify all power cables to the motherboard and components are securely seated.
- Мухлисон чарх намезананд: Check that all fan cables are correctly connected to the motherboard or fan controller. Ensure the system is receiving power.
- RGB Not Working: Confirm RGB cables are properly connected. If using motherboard software, ensure it is installed and configured correctly.
- Пайвастҳои суст: Recheck all internal connections (power, data, front panel I/O) to ensure they are firmly seated.
8. Мушаххасоти
| Хусусият | Мушаххасоти |
|---|---|
| Номи модел | ACCM-PV10012.11 |
| Навъи парванда | Бурҷи Миди |
| Мутобиқати motherboard | ATX |
| Андозаҳо (LxWxH) | 16.26 x 7.8 x 18.07 инч |
| Вазни ашё | 8.36 фунт |
| Материал | Акрилӣ |
| Портҳои USB 3.0 | 1 |
| Портҳои USB 2.0 | 2 |
| Усули хунуккунӣ | Ҳаво |
| Fan Size (Rear) | 120 миллиметр |
| Равшании RGB | Front Panel LED Strip |
9. Маълумот дар бораи кафолат
The Aerocool Cylon RGB Midi-Tower PC Case is covered by a manufacturer's warranty. Please refer to the warranty card included with your product or visit the official AeroCool webсайт барои шартҳо ва шартҳои кафолати муфассал, аз ҷумла давраи фарогирӣ ва расмиёти даъво.
10. Дастгирӣ
For further assistance, technical support, or to download the latest drivers and software, please visit the official AeroCool webсайт:
Webсайт: www.aerocool.io
You may also contact AeroCool customer service through the contact information provided on their webсайт.