1. Муқаддима
Welcome to the user manual for your Modecom Oberon Pro Glass USB 3.0 White PC Case. This manual provides essential information for the proper installation, operation, and maintenance of your computer chassis. Please read this manual thoroughly before beginning assembly to ensure correct setup and to prevent damage to your components or the case itself.
Чорабиниҳои бехатарӣ:
- Пеш аз насб кардан ё хориҷ кардани ҳама ҷузъҳо ҳамеша қувваи барқро аз васлаки деворӣ ҷудо кунед.
- Компонентҳоро боэҳтиёт истифода баред, то аз партовҳои электростатикӣ (ESD) пешгирӣ кунед. Истифодаи тасмаи антистатикиро баррасӣ кунед.
- Қисмҳои хурд ва маводи бастабандиро аз кӯдакон дур нигоҳ доред.
- Барои пешгирӣ аз гармии аз ҳад зиёд, вентилятсияи дурусти атрофи корпусро таъмин кунед.
2. Маҳсулот ба охир расидview
The Modecom Oberon Pro Glass is a stylish mid-tower PC case designed to house your computer components. It features a tempered glass side panel for showcasing your build and a clean white finish. The front panel includes convenient USB 3.0 ports for high-speed data transfer.
Расми 2.1: Пеш-рост view of the Modecom Oberon Pro Glass PC Case. This image displays the white exterior, the front panel with ventilation, and the top-mounted I/O ports including USB 3.0.
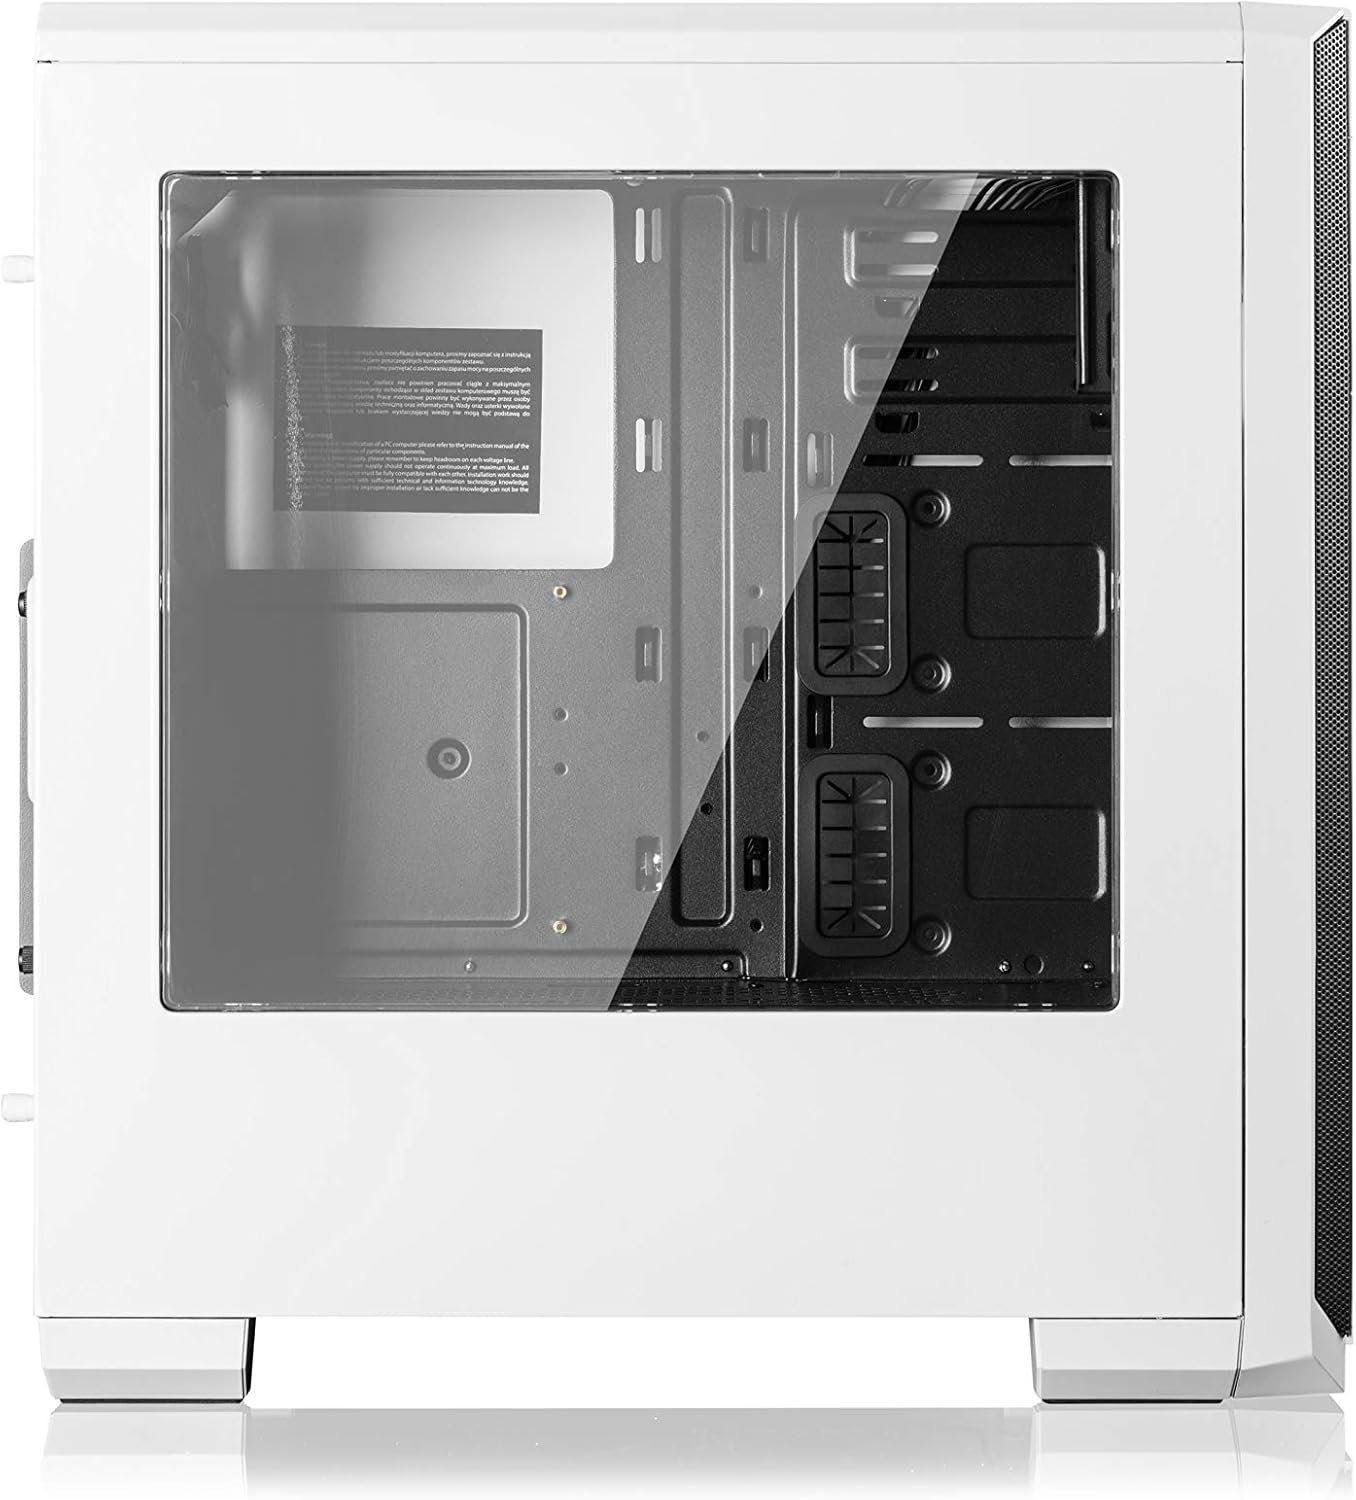
Расми 2.2: Тараф view of the Modecom Oberon Pro Glass PC Case, highlighting the tempered glass side panel. This panel allows for a clear view of the internal components when installed.
3. Танзим ва насб
Follow these steps to install your computer components into the Modecom Oberon Pro Glass PC Case.
3.1. Кушодан ва санҷиши ибтидоӣ
- Бодиққат қуттии компютерро аз бастабандӣ хориҷ кунед.
- Inspect the case for any signs of damage during transit. Contact your retailer immediately if damage is found.
- Remove the tempered glass side panel by unscrewing the thumb screws, typically located at the rear corners of the panel. Set the panel aside on a soft, flat surface to prevent scratches.
3.2. Насб кардани плата

Расми 3.1: Дохилӣ view of the Modecom Oberon Pro Glass PC Case, showing the motherboard tray, drive bays, and cable management cutouts.
- Install the I/O shield that came with your motherboard into the designated opening at the rear of the case.
- Ensure the motherboard standoffs are correctly aligned for your motherboard's form factor (ATX, Micro ATX, or ITX). Install additional standoffs if necessary.
- Модари худро бодиққат ба стендҳо ҷойгир кунед ва сӯрохиҳои винтро мувофиқ кунед.
- Модераторро бо винтҳои додашуда мустаҳкам кунед. Аз ҳад зиёд сахт накунед.
3.3. Насби воҳиди таъминоти барқ (PSU).
- Position your PSU in the dedicated compartment, typically at the bottom rear of the case.
- Align the screw holes on the PSU with those on the case's rear panel.
- Secure the PSU with the provided screws.
3.4. Насби диски нигоҳдорӣ (HDD/SSD)
- Locate the 3.5" HDD bays and 2.5" SSD mounting points within the case.
- For 3.5" HDDs, slide the drive into a bay and secure it with screws or tool-less clips if available.
- For 2.5" SSDs, mount them to the designated trays or screw points, typically behind the motherboard tray or in specific drive cages.
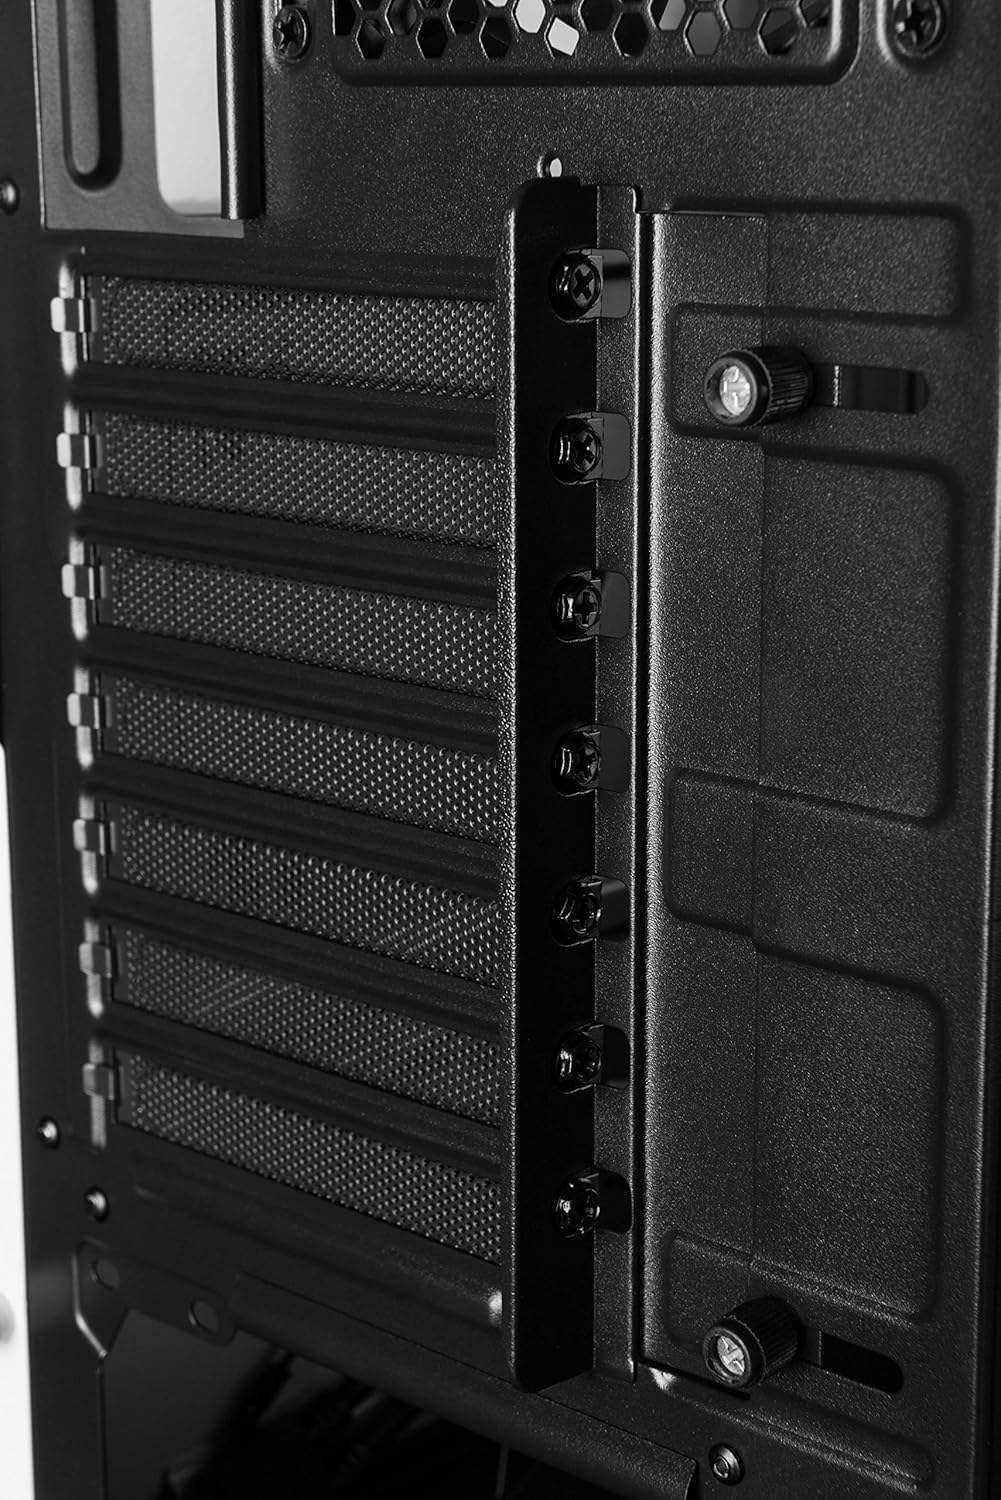
3.5. Expansion Card Installation (GPU, PCIe cards)

Расми 3.2: Дохили пушти view of the Modecom Oberon Pro Glass PC Case, illustrating the expansion slot covers and thumb screws for securing PCIe cards.
- Remove the necessary expansion slot covers from the rear of the case, corresponding to your card's slot on the motherboard.
- Insert your expansion card (e.g., graphics card) firmly into the PCIe slot on the motherboard.
- Secure the card to the case with the provided screws or retention mechanism.
3.6. Front Panel Connector Installation
- Connect the front panel cables (USB 3.0, HD Audio, Power Switch, Reset Switch, Power LED, HDD LED) to their respective headers on your motherboard. Refer to your motherboard manual for exact pin layouts.
3.7. Идоракунии кабел
- Барои ташкили кабелҳо, буришҳои масири кабелҳо ва нуқтаҳои пайвасткунии онҳо дар паси табақи модарӣ истифода баред. Ин ҷараёни ҳаво ва зебоиро беҳтар мекунад.
- Once all components are installed and cables managed, reattach the tempered glass side panel and secure it with the thumb screws.
4. Амалиёт
After successful installation, your PC is ready for operation.
- Фаъолкунӣ: Press the power button located on the top I/O panel of the case.
- Using Front Panel Ports: The front panel includes USB 3.0 ports and audio jacks. Connect your USB devices (e.g., flash drives, external hard drives) to the USB ports for data transfer. Plug your headphones or microphone into the respective audio jacks.
5. Нигоҳдорӣ
Нигоҳдории мунтазам кӯмак мекунад, ки кори беҳтарин ва дарозмуддати ҷузъҳои компютери шумо таъмин карда шавад.
- Филтрҳои чанг: Periodically remove and clean the dust filters (if present) to maintain good airflow and prevent dust buildup inside the case. Use compressed air or a soft brush.
- Тозакунии берунӣ: Сатҳҳои берунии корпусро бо матои нарм пок кунед, damp cloth. Avoid abrasive cleaners or solvents that could damage the finish or tempered glass.
- Панели шишагии боҳашамат: Clean the tempered glass with a glass cleaner and a microfiber cloth to avoid streaks and scratches.
6. Баррасии мушкилот
Агар шумо бо мушкилот рӯ ба рӯ шавед, қадамҳои асосии ҳалли мушкилотро баррасӣ кунед:
- Система фаъол нест:
- Ensure the PSU is switched on and properly connected to the wall outlet.
- Verify that the front panel power switch cable is correctly connected to the motherboard header.
- Ҳамаи пайвастҳои барқро ба motherboard ва ҷузъҳо санҷед.
- Портҳои USB кор намекунанд:
- Confirm that the front panel USB 3.0 cable is securely connected to the corresponding header on the motherboard.
- Test with different USB devices.
- Садои аз ҳад зиёд:
- Identify the source of the noise (e.g., case fans, CPU cooler fan, GPU fan).
- Ensure all fans are free from obstructions and properly secured.
- Clean any dust buildup on fans.
For more complex issues, consult your component manuals or seek professional assistance.
7. Мушаххасоти
| Хусусият | Тавсифи |
|---|---|
| Бренд | Modecom |
| Номи модел | Oberon Pro Glass |
| Рақами модел | AT-OBERON-PG-20-000000-0002 |
| Навъи парванда | Манораи миёна |
| Ранги | Сафед |
| Материал | Поликарбонат (PC) |
| Модарҳои мувофиқ | ATX, Микро ATX, ITX |
| Портҳои I / O Front | USB 3.0, Audio In/Out |
| Таъмини нерӯ | W/O PSU (Power Supply Unit not included) |
| Вазни ашё | 2 килограмм |
| Кодекси байналмилалии моддаҳо | 05901885248370 |
8. Кафолат ва дастгирӣ
Маълумот дар бораи кафолат:
Modecom provides a guarantee of spare parts availability for 2 years from the date of purchase. This ensures that essential components for repair or replacement will be accessible within this period.
Дастгирии муштариён:
For technical assistance, warranty claims, or further inquiries, please refer to the official Modecom website or contact your local retailer where the product was purchased. Ensure you have your product model number and proof of purchase available when seeking support.


