Муқаддима
This instruction manual provides essential information for the proper setup, operation, and maintenance of your Como Audio Analog Turntable, Model CATA. Please read this manual thoroughly before using the product to ensure optimal performance and longevity.
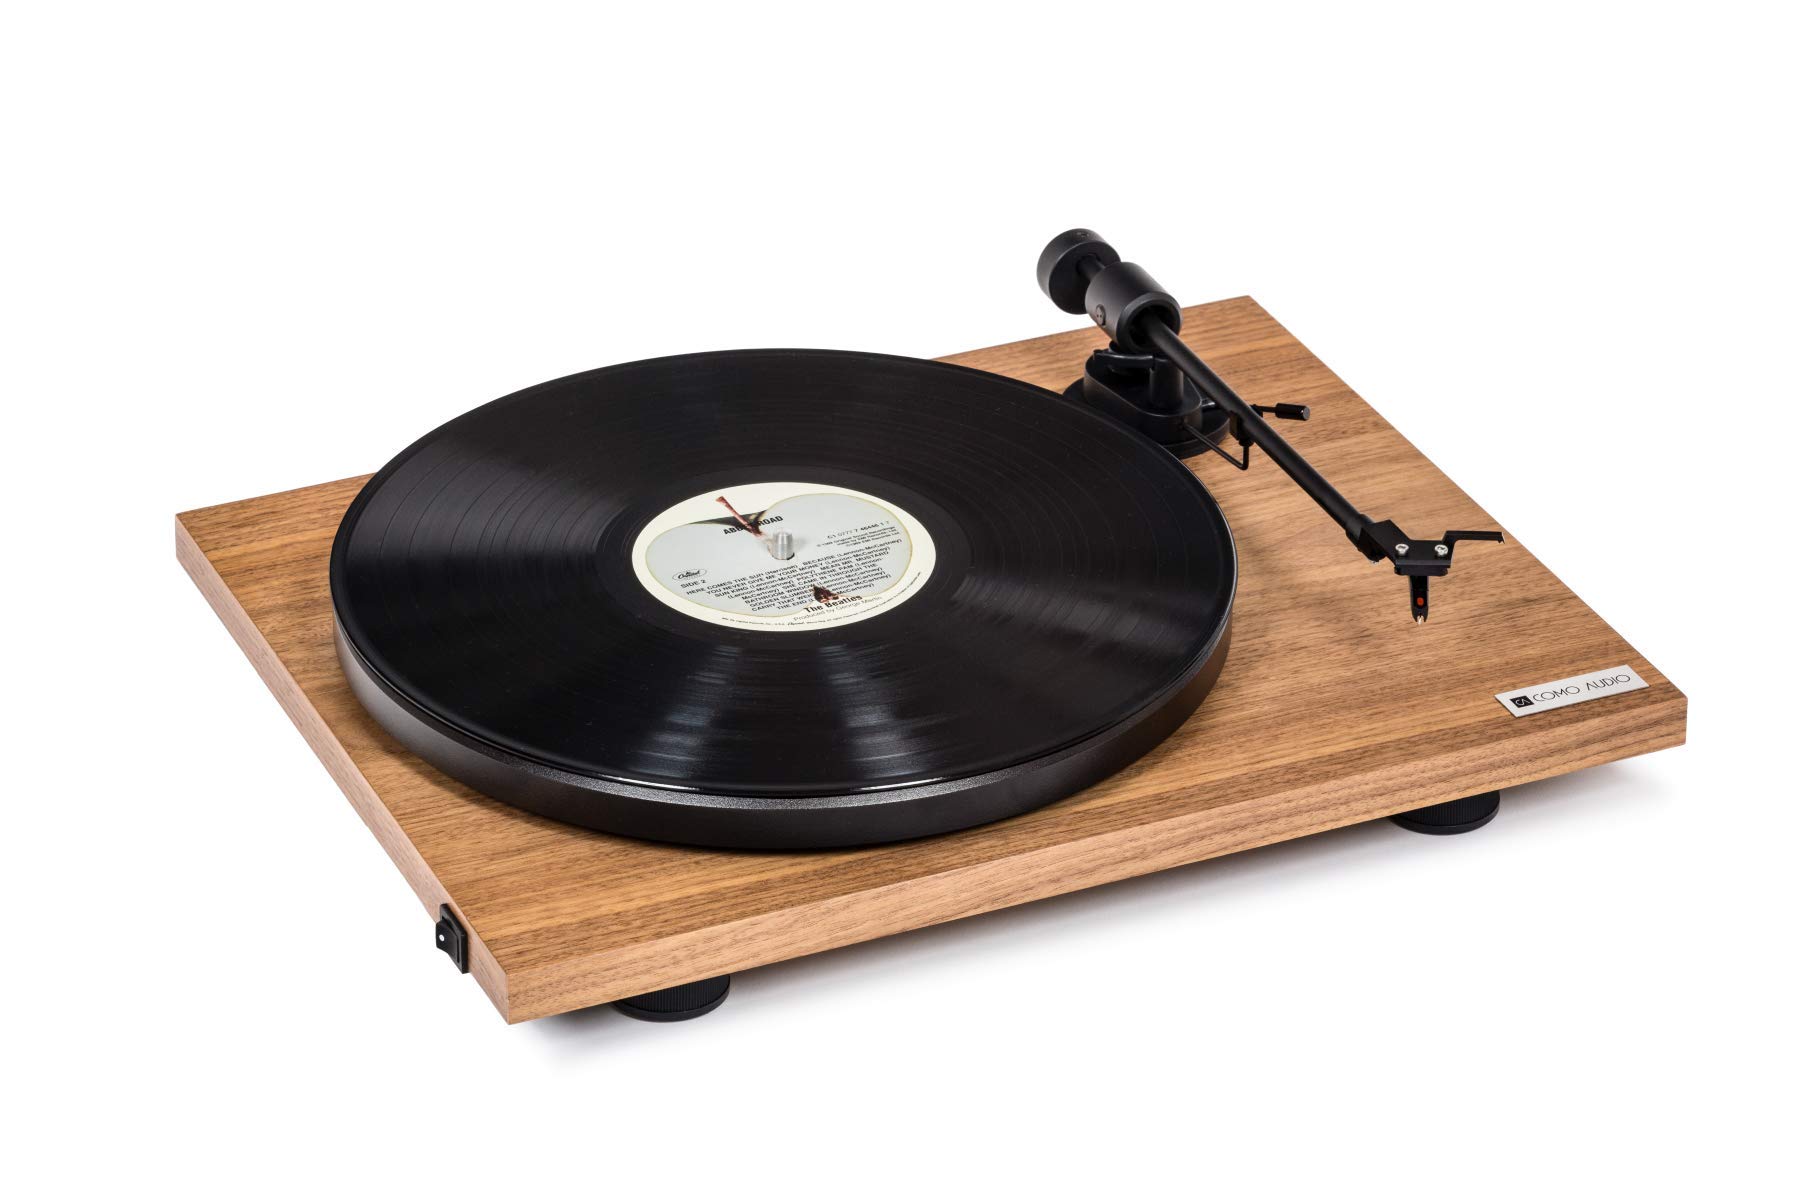
Image: The Como Audio Analog Turntable, featuring a walnut wood plinth, black platter, and tonearm.

Тасвир: Муфассал view of the rich walnut finish on the turntable's plinth, showcasing the wood grain.
Мундариҷаи баста
Before proceeding with setup, ensure all components are present and undamaged:
- Como Audio Analog Turntable unit
- Pre-mounted Ortofon cartridge/stylus
- Табақ
- Камарбанди ронанда
- Removable clear dust cover
- Бистари ҳис
- Кабели аудио
- Power supply (15V/0.8A, universal 110V-240V, 50-60Hz)
- Дастури таълимӣ (ин ҳуҷҷат)
Дастурҳои насб
1. Кушодан ва ҷойгиркунӣ
- Ҳама ҷузъҳоро аз бастабандӣ бодиққат хориҷ кунед.
- Табақчаи гардишкунандаро дар сатҳи устувор ва ҳамвор, дур аз нури бевоситаи офтоб, манбаъҳои гармӣ ва ларзиши аз ҳад зиёд ҷойгир кунед.
2. Насб кардани тасма ва диски тасма
- Place the platter onto the spindle located on the turntable plinth.
- Locate the drive belt. Gently stretch the belt around the motor pulley (small metal cylinder) and the inner rim of the platter. Ensure the belt is not twisted.
3. Cartridge and Stylus
The Como Audio Analog Turntable comes with a premium Ortofon cartridge and stylus pre-mounted. No adjustment of counterweight or anti-skating is required for initial setup.
4. Насб кардани сарпӯши чанг

Image: Detail of the removable clear dust cover, designed to protect the turntable from dust.
- Carefully align the hinges of the clear dust cover with the corresponding slots on the rear of the turntable plinth.
- Gently push down until the dust cover is securely in place. The dust cover is removable for cleaning or when not in use.
5. Пайвасти аудио
The turntable offers selectable Line output or Phono output. Choose the appropriate connection for your audio system:
- Line Output (Integrated Phono Pre-Amp): Use this option if your amplifier or music system (e.g., Como Audio music system) has an Auxiliary (AUX) input and does not have a dedicated Phono input. Connect the included audio cable from the turntable's Line Out to your system's AUX input.
- Натиҷаи фоно: Use this option if your amplifier or music system has a dedicated Moving Magnet (MM) Phono input. Connect the included audio cable from the turntable's Phono Out to your system's Phono input. Ensure your amplifier's Phono input is selected.
Шарҳ: If experiencing a humming noise, ensure proper grounding. Some audio systems may require a separate ground wire connection if available on your ampлифер.
6. Пайвастшавии барқ
- Connect the power supply cable to the DC input jack on the rear of the turntable.
- Адаптери барқро ба васлаки мувофиқи девор пайваст кунед.
Дастурҳои амалиётӣ
1. Powering On and Speed Selection
- Locate the integrated power and speed control switch, typically on the bottom left side of the turntable plinth.
- Turn the switch to select either 33 1/3 RPM for LPs or 45 чархзании for singles. The platter will begin to spin.
2. Навозиши сабт

Image: The turntable with a record spinning on the platter, and the tonearm positioned over the record.
- Табақи намадинро ба табақ гузоред.
- Carefully place a vinyl record onto the felt mat.
- Бо истифода аз фишанги ишора, дастаки тонерро оҳиста бардоред.
- Position the stylus over the desired starting groove of the record.
- Фишанги ишорадиҳиро оҳиста паст кунед, то ки қалам ба болои пластинка фурояд.
- Adjust the volume on your connected audio system.
3. Қатъи бозикунии
- Дар охири сабт ё вақте ки шумо мехоҳед навохтани садоро қатъ кунед, бо истифода аз фишанги ишора, тонерро оҳиста бардоред.
- Return the tonearm to its rest position and secure it with the tonearm clip.
- Turn the power/speed switch to the "Off" position to stop the platter from spinning.
- Шарҳ: This turntable does not feature an automatic shut-off function. The platter will continue to spin until manually turned off.
Нигоҳдорӣ
1. Тоза кардани табақ
- Always power off and unplug the turntable before cleaning.
- Use a soft, dry, lint-free cloth to wipe the plinth and platter. Avoid abrasive cleaners or solvents.
- Барои пӯшиши чанг, дар ҳолати зарурӣ аз матои мулоим ва тозакунандаи нарм ва ғайриабразивӣ истифода баред.
2. Нигоҳубини стилус
- Regularly clean the stylus using a dedicated stylus brush, brushing gently from back to front.
- Аз ламс кардани қалам бо ангуштони худ худдорӣ кунед.
- A worn or damaged stylus can harm your records and degrade sound quality. Replace the stylus when necessary (typically after 500-1000 hours of playback, depending on usage and record condition).
3. Камарбанди гардонанда
The drive belt is a wear item. If you notice inconsistent speed or the platter not spinning, the belt may need to be inspected or replaced. Contact Como Audio support for replacement parts.
Мушкилкушо
| Мушкилот | Сабаби эҳтимолӣ | Ҳалли |
|---|---|---|
| Овоз нест ё садои хеле паст |
|
|
| Садои шум |
|
|
| Inconsistent or incorrect playback speed |
|
|
| Табдилдиҳанда чарх намезанад |
|
|
Мушаххасоти
| Хусусият | Тафсилот |
|---|---|
| Рақами модел | CATA |
| Андозаҳои маҳсулот (L x W x H) | 16.3 x 12.6 x 4.65 инч |
| Вазни ашё | 11.68 фунт |
| Бренд | Ҳамчун аудио |
| Суръати максималии гардиш | 45 чархзании |
| Компонентҳои дохилшуда | Pre-mounted Ortofon cartridge/stylus, audio cable, power supply, dust cover, felt mat |
| Хусусиятҳои махсус | Belt-Drive, Built-In Cartridge, Integrated Phono Pre-Amp, DC Motor with TPE Damping |
| Материал | Engineered Wood (MDF), Plastic |
| Ранги | чормағз |
| Дастгоҳҳои мувофиқ | Speaker, Personal Computer (via appropriate audio input) |
| Навъи мотор | Мотор DC |
Кафолат ва дастгирӣ
For warranty information, technical support, or replacement parts, please contact Como Audio directly through their official webсайт ё каналҳои хидматрасонии муштариён. Квитансияи хариди худро ҳамчун далели харид нигоҳ доред.
Official Como Audio Webсайт: www.comoaudio.com


